Extrusion: The “911” for feedscrew removal by Davis-Standard’s blog team

Your feedscrew is stuck…now what? Never fear! First thing’s first, follow the instructions in your extruder manual. Secondly, we recommend using a feedscrew jack to safely aid in this process. This jack employs a long, grooved bar between two hydraulic cylinders actuated by a lever or via push-button operation. A latch engages and pushes the bar forward the distance between the grooves. The latch is then retracted until it picks up the next groove.

To give you an idea of edscrew. Be sure any pressure is relieved
2. Loosen the head clamp and swing or lift the head free of the barrel flange.
3. Remove the breaker plate, screen pack, etc.
4. Insert a push rod in the bore of the thrust shaft and against the feedscrew end.
5. Place the jack bracket in the groove of the thrust shaft and above the two supporting lugs on the rear face of the bearing retainer. These lugs prevent rotation of the jack bracket.
6. Using the pump handle, increase the jack pressure. This puts pressure on the feedscrew through the push rod and forces the feedscrew forward and out of the keyways.
7. Turn the knob to release pressure in the pump. Insert additional spacers between the piston rod of the jack and the push rod to get more sliding movement of the feedscrew.
8. Carefully withdraw the feedscrew from the barrel. Using a wire brush, clean the flights, channels, and mixing pins or grooves as the feedscrew is being withdrawn. Make certain not to drop the feedscrew as the shoulder of the feedscrew clears the barrel.
9. Remove spacers, jack assembly, and push rod from the extruder. The push rod may be pushed through the delivery end of the barrel.
10. Place the feedscrew on a wooden bench or V-blocks and thoroughly clean and inspect. Refer to the instruction manual for details.
When installing or removing the feedscrew, be careful not to let the feedscrew drop as the shank diameter changes. This will nick or damage the breaker plate recess, and typically causes irreparable damage. Protect the sealing face by machining a simple ring and inserting that ring into the recess before pulling the screw. Make the ring 0.25 mm greater than the nominal barrel inside diameter, approximately 0.13 mm less than the breaker plate recess inside diameter and 1.5 times the thickness of the breaker plate.
What happens when traditional feedscrew removal fails?

Unfortunately, there are situations when typical feedscrew removal procedures fail. Thus, extra work is involved. Due to the challenging nature of these situations, do not hesitate to contact us with questions if you have to employ any of the alternative procedures below. We’d be happy to walk you through the steps or provide on-site assistance.
Alternative #1
Oxidation or corrosion can cause the screw to be jammed in the taper. When this happens, we suggest using a steel rod (not a pipe) slightly smaller than the hole through the thrust sleeve. Ensure the rod is long enough so that it protrudes 45 cm from the thrust sleeve. Once the rod is inserted into the thrust sleeve, cautiously hit the rod with a sledgehammer. If the rod does not move after a few tries, rotate the feedscrew slightly by turning the input sheave by hand. Repeat the hammering. Once the screw is knocked free, repeat the normal procedure for feedscrew removal.
Alternative #2
In some cases, the oxidation is so severe that using the method above will not loosen the feedscrew. In this case, penetrating oil must be applied. To do so, mask off the bottom half of the hole found at the rear of the thrust shaft. Pour penetrating oil over the top of the masking until it is ¼-inch (6mm) deep. Then, mask off the entire hole. With oil in the bore, rotate the shaft by turning the input shaft by hand. If there is a clear passage, the oil will find it and run out the shank of the feedscrew. Allow the oil to set overnight.
Make a block of wood 10 x 10 x 91 cm. Place the block of wood against the side of the feedscrew behind the feed section where the shank is visible. Give the block of wood a few sharp blows with a sledgehammer. Rotate the feedscrew and repeat the hammering until it loosens. Then perform alternate procedure #1.
Alternative #3
If the first two procedures to do not work, there is a third alternative. However, try the above procedures repeatedly before engaging this option. With this procedure, there is a good chance the barrel and feedscrew will be ruined.
Loosen the bolts on the barrel support casing on the front of the machine. Using a pry bar, lift the casing up about 6 to 9.5 mm. While it is lifted, rotate the feedscrew by turning the reducer input shaft by hand. This tends to bend the feedscrew, causing strain on the taper. It may help to strike the feedscrew at a side angle while it is bent. If this fails to loosen the screw, it will probably be necessary to disassemble the machine and remove the feedscrew from the feed end of the barrel. If this fails, the entire feedscrew/ barrel unit must be put in a large hydraulic press where it may require up to 100 tons to remove the feedscrew.
Hopefully, you will never need to use these alternative procedures. For additional questions about this or any other feedscrew maintenance topic, please e-mail marketing@davis-standard. com.


KraussMaffei showcases pioneering Additive Manufacturing solutions at formnext
precisionPrint stereolithography 3D printer show smultilaser-technology for series product…
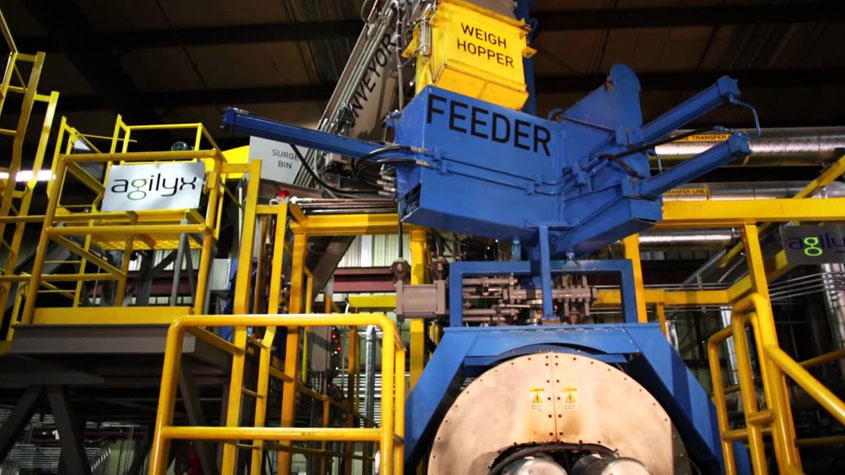
Circular economy: Agilyx expands recycling to include POs; LyondellBasell/Covestro kick-off circular steam project in the Netherlands
US environmental technology firm Agilyx says its circular plastic recycling capabilities have expanded to include feedstock …